
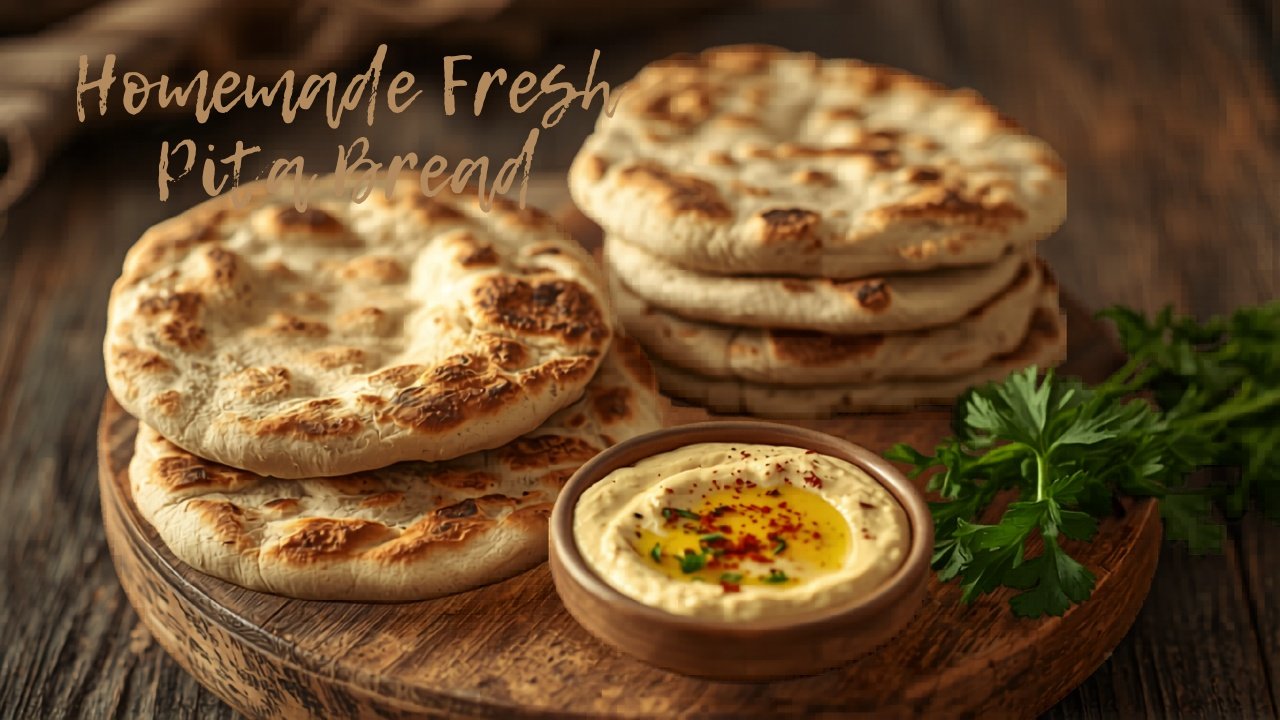
This homemade pita bread recipe is one of the most rewarding things you can make from scratch in your kitchen. Soft, pillowy, and slightly charred from a hot skillet — fresh pita bread is worlds apart from anything you will find at the store. Once you make it yourself, there is simply no going back.
At MyPrepTable, Chef Niko grew up eating fresh pita straight off the grill at Greek family gatherings. This recipe captures that same authentic texture and flavor — a slightly chewy, lightly blistered pita that puffs beautifully when it hits a hot pan. It is the perfect companion for homemade tzatziki, creamy hummus, or alongside any Mediterranean meal.
Table of Contents
- What Is Pita Bread?
- Key Ingredients Explained
- Homemade Pita Bread Recipe
- 5 Tips for Perfect Pita Every Time
- How to Serve Fresh Pita Bread
- Storage and Reheating
- Frequently Asked Questions
What Is Pita Bread?
Pita is a leavened flatbread with roots stretching back thousands of years across the Middle East and Mediterranean. The name comes from the Greek word for “pie” or “flatbread,” and it has been a staple of Greek, Lebanese, Turkish, and Egyptian cuisine for millennia. When baked or cooked on a very hot surface, the steam inside the dough causes pita to puff up dramatically, creating the signature pocket that makes it perfect for stuffing with fillings.
Unlike pocketless flatbreads, authentic pita bread relies on the rapid expansion of steam to separate its two layers. According to Serious Eats, the key to a proper pita pocket is a very hot cooking surface — whether a cast iron skillet, a pizza stone, or a traditional wood-fired oven — that creates an intense burst of steam in the first moments of cooking.
Key Ingredients Explained
All-purpose flour is the foundation of this pita bread recipe. It provides just enough gluten structure to create a pliable, chewy dough that can be rolled thin and still hold together on the hot skillet. You can substitute bread flour for a slightly chewier result, or use half whole wheat flour for a more rustic, nutty flavor.
Warm water and warm milk together create the liquid base for the dough. The milk adds a subtle richness and tenderness to the finished bread that water alone cannot achieve. The key word here is warm — not hot. Liquid that is too hot will kill the yeast; liquid that is too cold will fail to activate it. Aim for around 110°F (43°C), which should feel comfortably warm on the inside of your wrist.
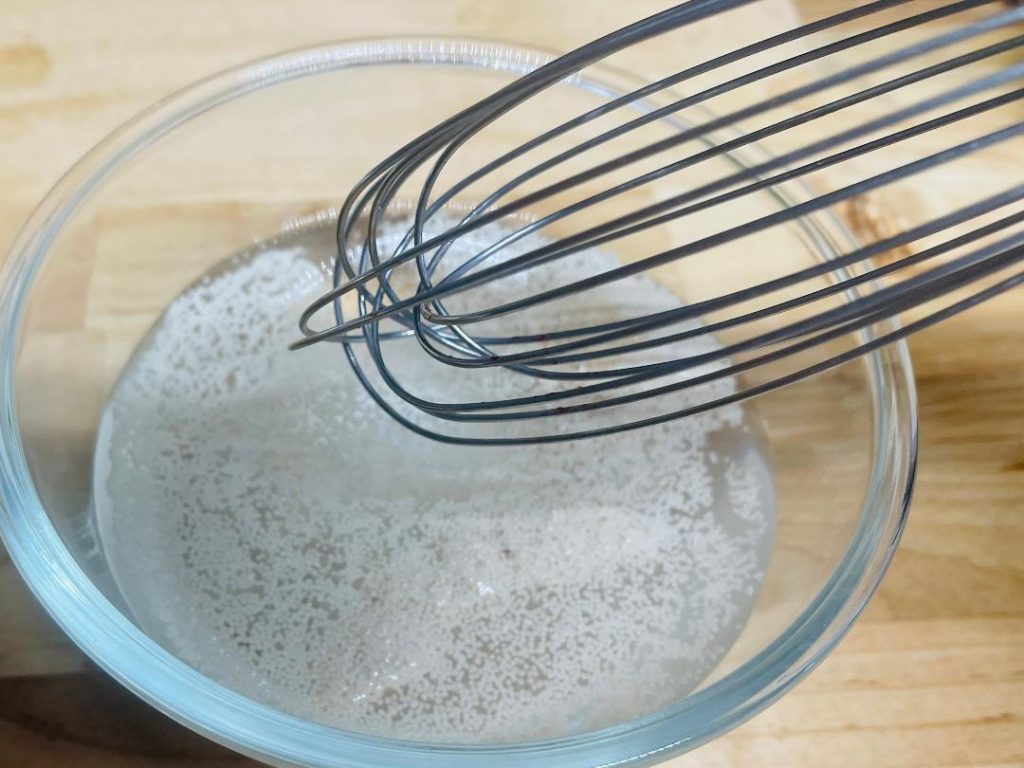
Active dry yeast is the leavening agent that makes pita bread puff. After combining with warm liquid and a pinch of sugar, it should become frothy and bubbly within 5 to 10 minutes — this is called “proofing” the yeast and confirms it is alive and active. If your yeast does not foam, it may be expired and should be replaced before proceeding.
Sugar plays a small but crucial role — it feeds the yeast and accelerates its activation. It also contributes a very subtle sweetness to the finished bread that balances the slight tang of the yeast.
Olive oil is worked into the dough to keep it supple and prevent it from drying out during the rising period. It also contributes flavor and helps the exterior of the pita develop a slight golden color on the skillet.
Homemade Pita Bread Recipe
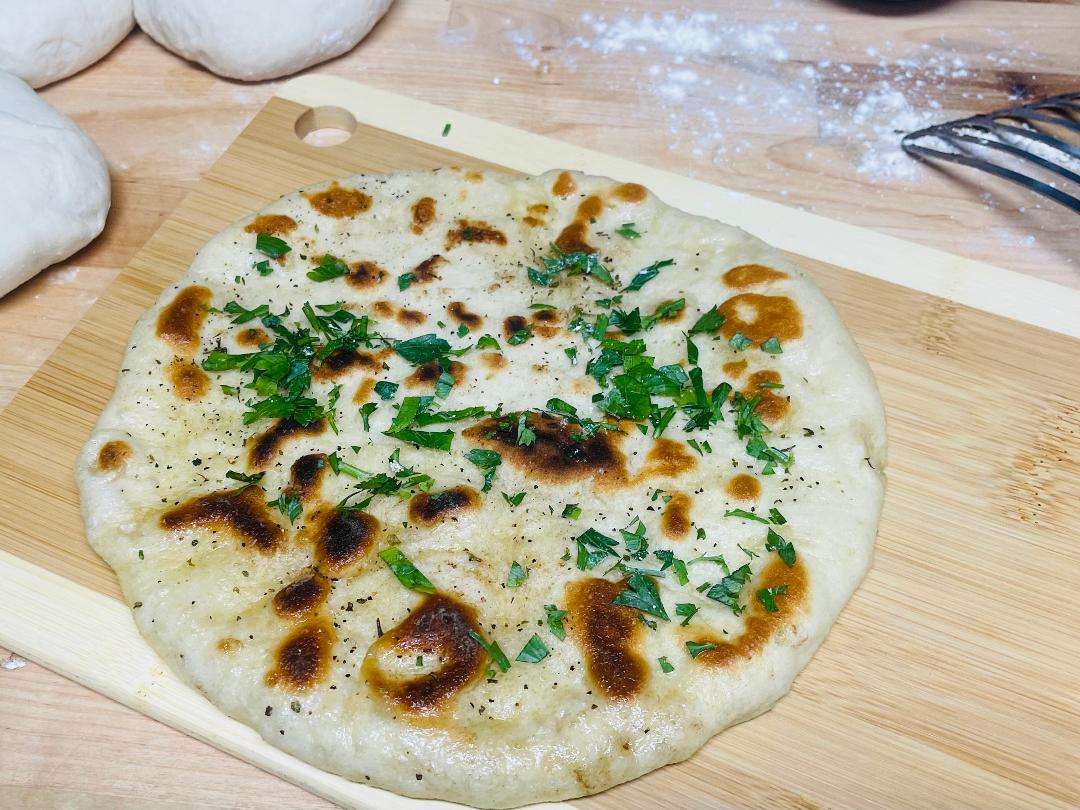
How to Make Fresh Pita Bread
Equipment
- (Help support our site!)Rolling Pin
- (Help support our site!)Mixing Bowl
- (Help support our site!)Measuring Cup
- measuring Spoon
- Medium Skillet
- (Help support our site!)Whisk
- (Help support our site!)Chefs Knife
Ingredients
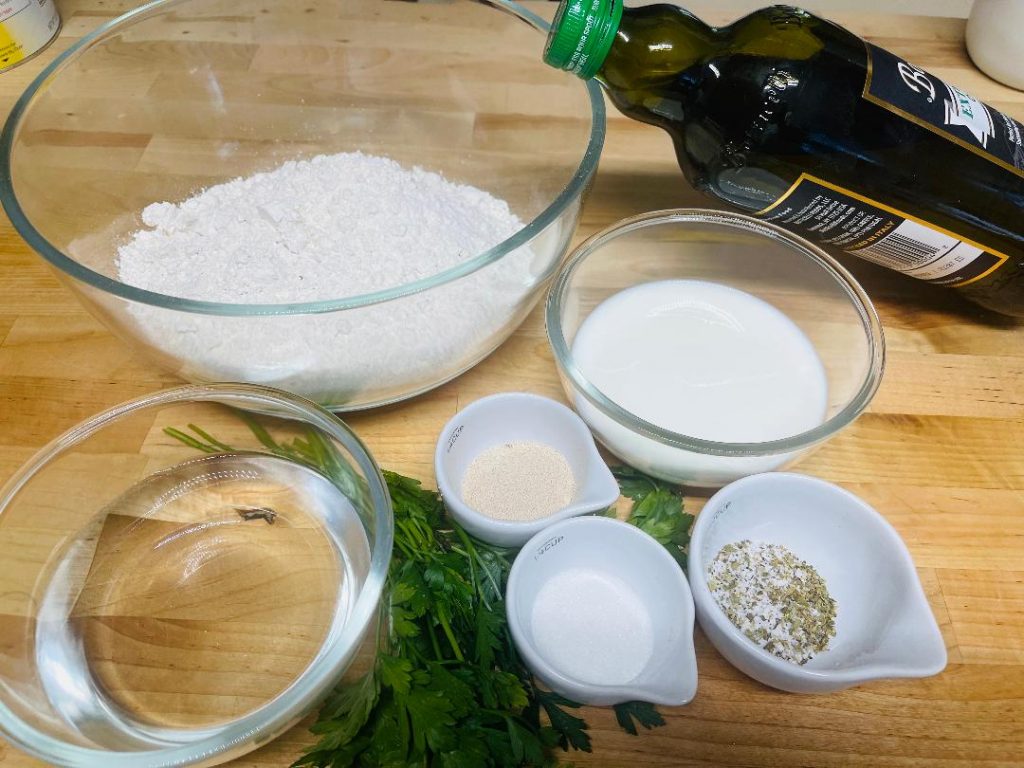
- ¾ cup Warm Water
- ¾ cup Warm Milk
- 1 tbsp Dry Yeast
- 1/2 tbsp Sugar
- 18 ounce All Purpose Flour
- 1 tbsp Salt
- 3 tbsp Olive Oil
- ¼ bunch Parsley
- 1 To Taste Salt & Pepper
- 1 pinch Oregano
Instructions
- In a mixing bowl: add luke warm water and milk.Note: Using warm liquid will help activate yeast faster.
- Whisk in the yeast and sugar until ingredients are well combined and dissolved. Wait about 5 minutes till it gets frothy.Note: Sugar is used to activate the yeast. Yeast eats sugar to grow rapidly
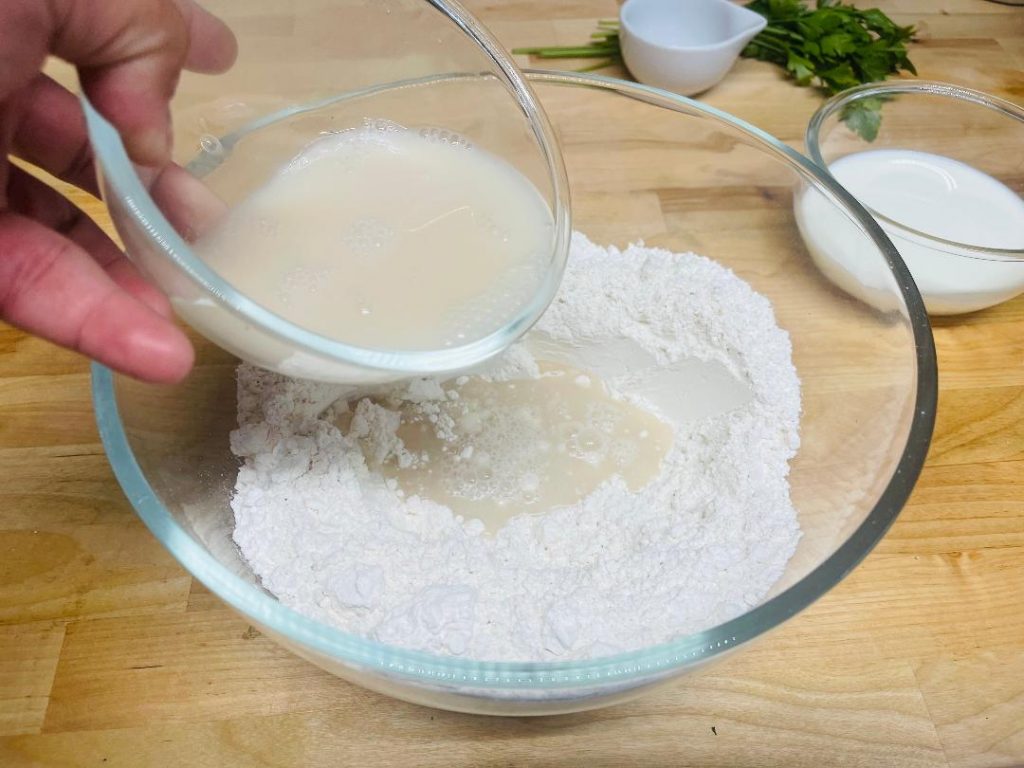
- In a bowl all-purpose flour and make a hole in center add the liquid mixture and olive oil. Using a fork or wooden spoon begin mixing flour to liquid.
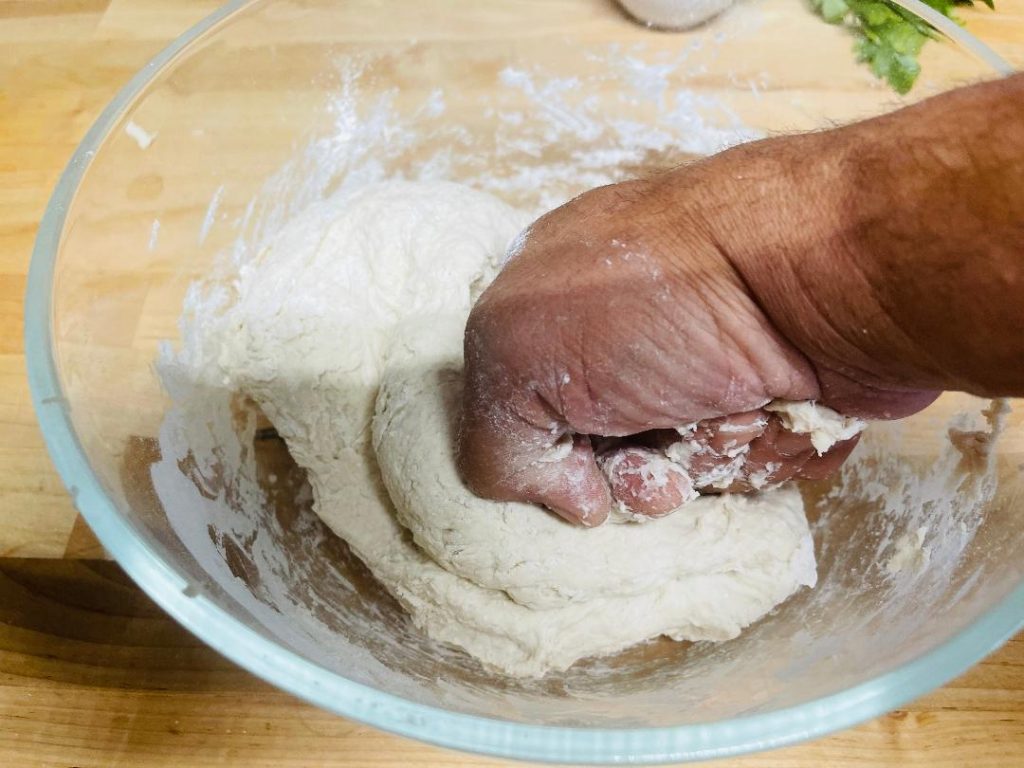
- Once incorporated begin kneading dough for 5-8 minutes, until ingredients have been evenly incorporated.
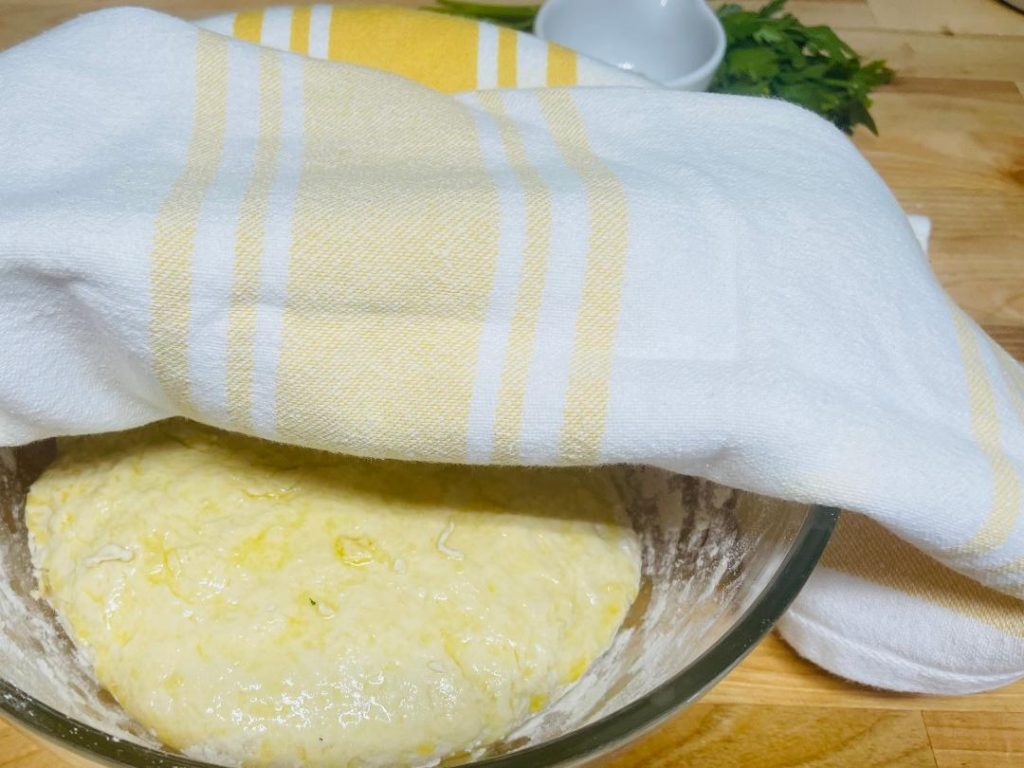
- Form a ball and coat with teaspoon of olive oil, Cover for one hour till dough rises.
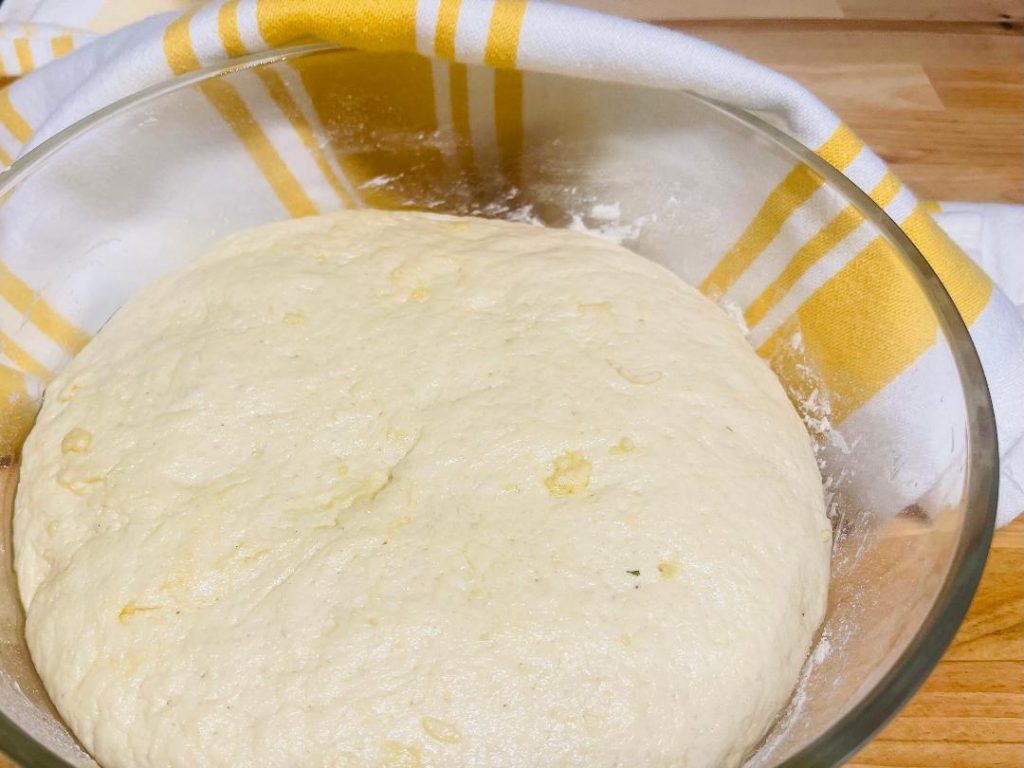
- About one hour later the dough will be double in size and fluffy.
- Remove from bowl cut into six equal pieces roughly about 4oz and roll into balls and place into a tray.
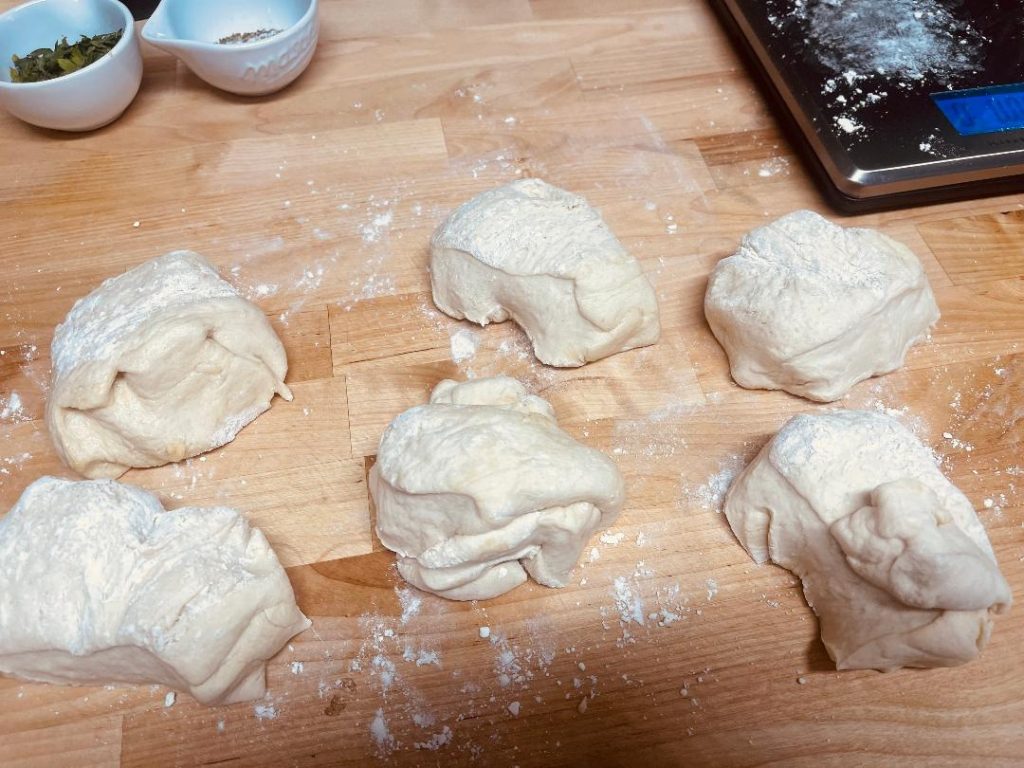
- Rest dough with moist cloth till ready for use. Usually good to let rest for10-15 minutes before forming.
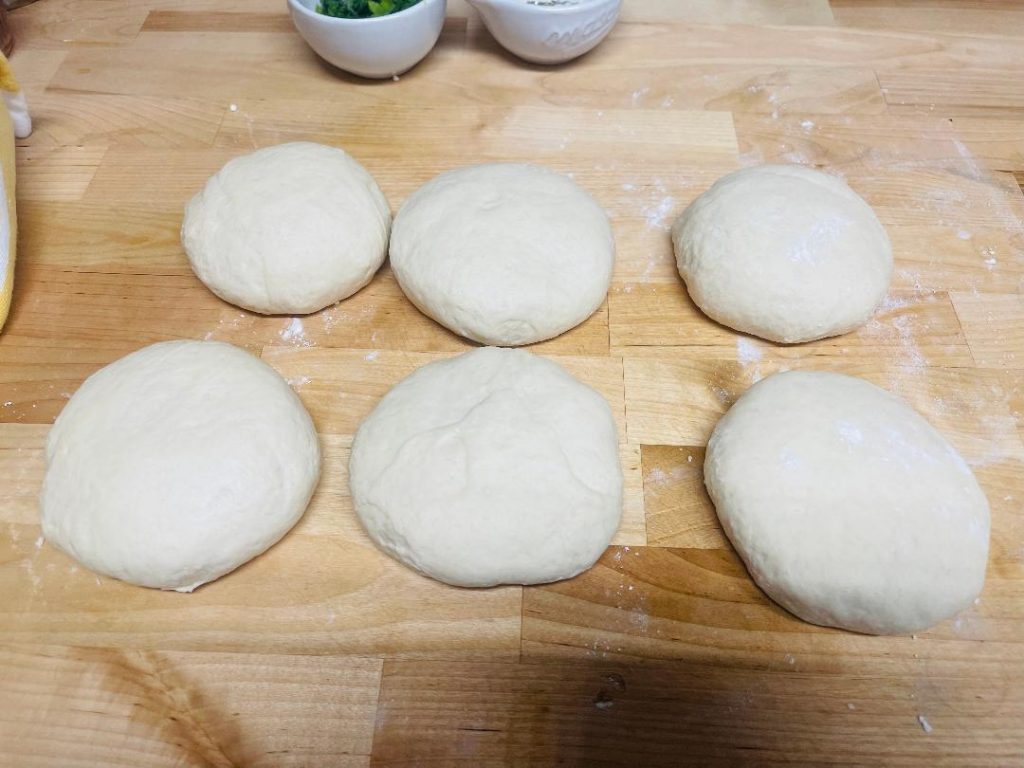
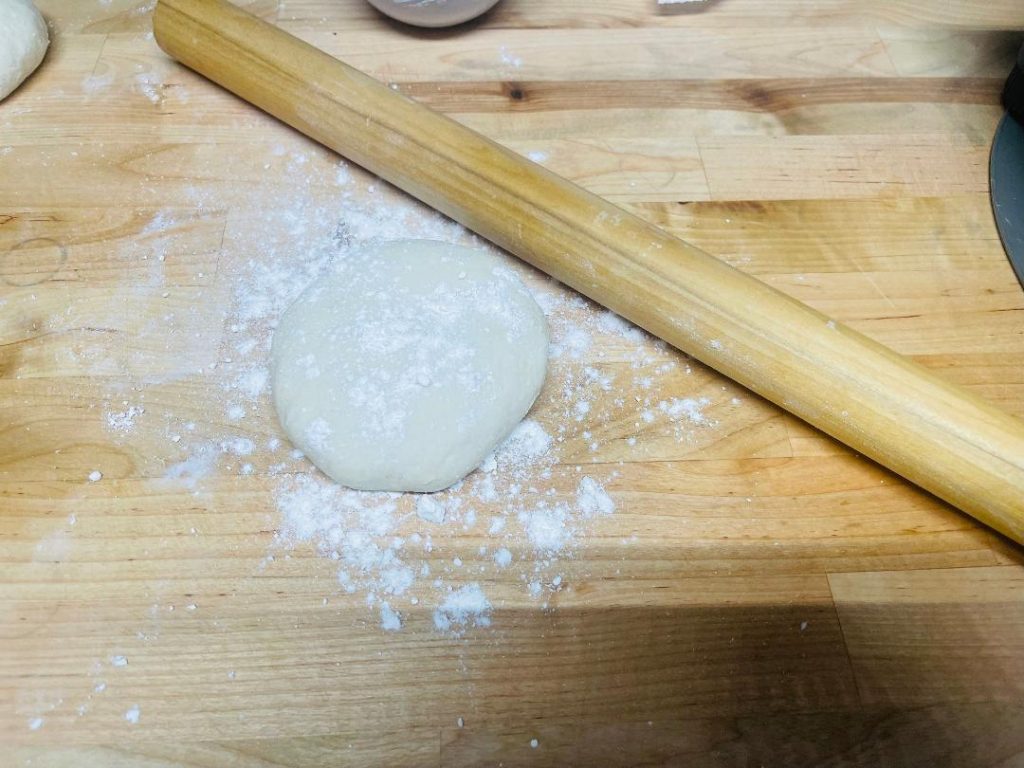
- Take one ball of dough dust with flour using a rolling pin, roll out dough into and equal round shapes to form your pita bread. Feel free to e-elongate dough if preferred.
- Heat a skillet at medium temperature, drizzle olive oil and place dough into skillet.
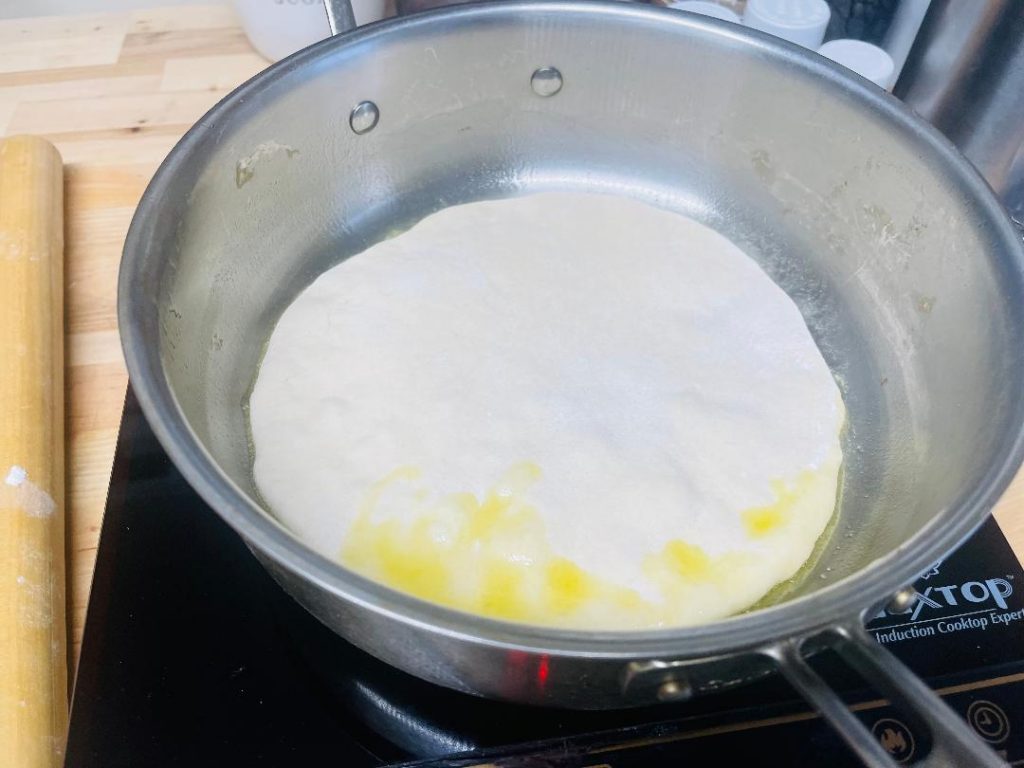
- Cook each side for 2 to 3 minutes a side. The dough will puff up forming a center pocket.Note: if your pan has a matching lid cover while cooking this will cause a bit of steam to keep bread moist.
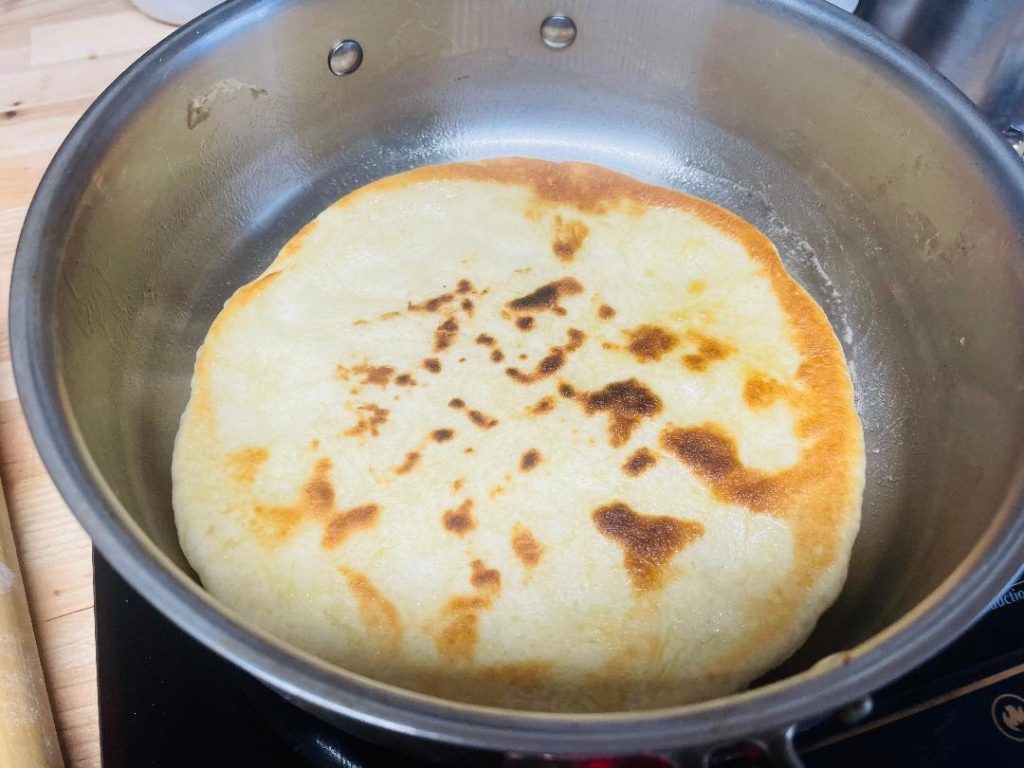
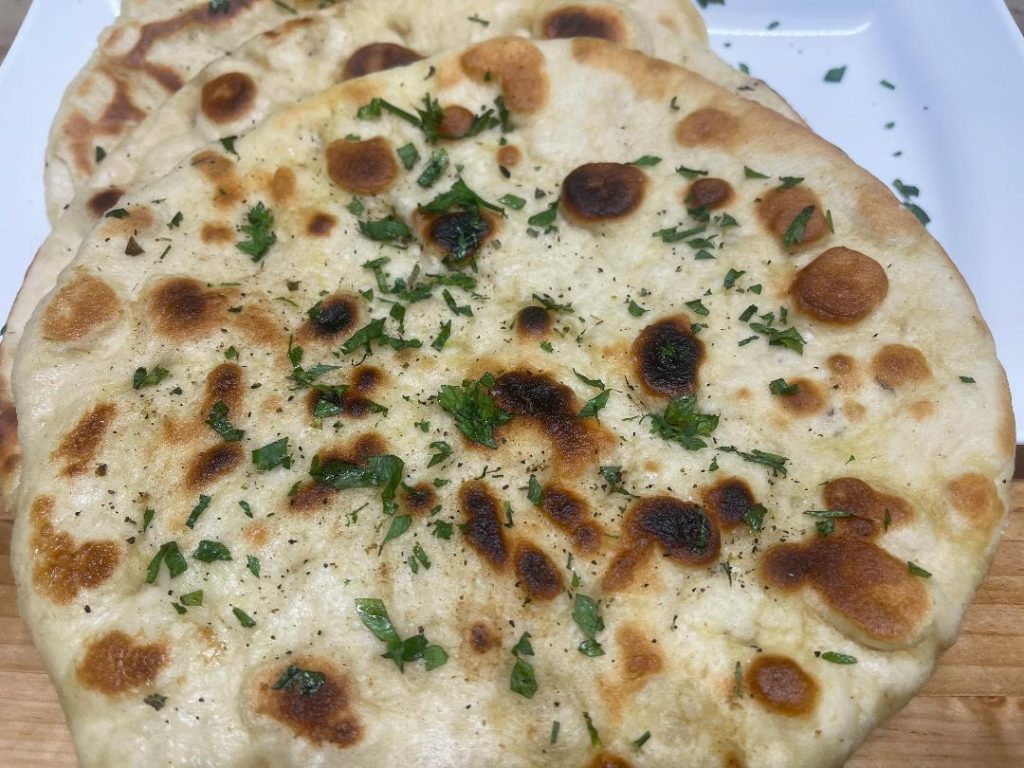
- Remove from skillet place on plate and sprinkle salt, pepper parsley and oregano to taste or just leave it plain.
Notes
Nutrition
5 Tips for Perfect Pita Bread Every Time
1. Use warm — not hot — liquid. This is the single most important step. Yeast is a living organism and is killed by temperatures above 120°F. Test the water and milk on your inner wrist — it should feel warm and comfortable, like bathwater. If it feels hot, let it cool for a few minutes before adding the yeast.
2. Knead the dough thoroughly. Five to eight minutes of kneading is not optional. This process develops the gluten network in the flour, which is what gives pita its signature chewiness and allows it to hold together when you stuff it. Under-kneaded dough will tear easily and may not puff properly. The dough is ready when it springs back quickly when poked with a finger.
3. Let the dough rise fully. One full hour at room temperature is the minimum rise time. A properly risen dough will double in volume and feel airy and pillowy when you press it gently. If your kitchen is cold, the rise may take longer — this is fine. A longer, slower rise actually develops better flavor.
4. Get your skillet very hot before cooking. The dramatic puff that defines a great pita comes from the rapid steam expansion that happens when cold, moist dough hits an extremely hot surface. Heat your cast iron or heavy skillet over medium-high heat for at least 3 to 4 minutes before cooking the first pita. It should be hot enough that a drop of water skitters across the surface.
5. Roll the pita thinly and evenly. Aim for about ¼ inch thickness. Pita that is rolled too thick will be doughy in the center; too thin and it may not puff fully. Uneven thickness means it will cook unevenly. Take your time with the rolling and try to keep each round as uniform as possible.
How to Serve Fresh Pita Bread
Fresh pita bread is best served immediately — warm from the skillet, wrapped in a clean kitchen towel to keep it soft. The towel traps steam and prevents the pita from drying out and becoming stiff while you cook the remaining rounds.
The classic Greek presentation is to serve warm pita alongside a spread of mezze — small dishes designed for sharing. At MyPrepTable, we love this pita with a full mezze spread that includes tzatziki, tirokafteri (spicy feta), and hummus. Cut the pita into wedges and arrange on a wooden board for a beautiful, shareable appetizer.
Fresh pita is also exceptional as a wrap — fill it with grilled chicken souvlaki, roasted vegetables, or falafel for a complete meal. The natural pocket created by the steam makes it ideal for stuffing. Or simply tear it into pieces and use it to scoop up a bowl of rich tomato bisque — one of the simplest and most satisfying ways to eat great bread.
Storage and Reheating
Fresh pita bread stores well at room temperature for up to 2 days in a sealed zip-lock bag or airtight container. For longer storage, pita freezes beautifully — stack the cooled rounds with a sheet of parchment paper between each one, seal in a freezer bag, and freeze for up to 3 months. Thaw at room temperature for 20 minutes or wrap in a damp paper towel and microwave for 20 to 30 seconds.
To reheat, the best method is a 30-second blast in a dry hot skillet — this restores the slight char on the outside and warms the bread through without making it rubbery. Avoid the microwave for reheating if you can help it, as it tends to make pita chewy and tough rather than soft and pliable. According to USDA food safety guidelines, bread reheated to an internal temperature of 165°F is considered safe for consumption.
Frequently Asked Questions
Why didn’t my pita bread puff up? The most common reasons are a skillet that was not hot enough, dough that was rolled too thick, or a dough that was under-proofed. Make sure your pan is screaming hot before the pita goes in, and that your dough has fully doubled in size during the rise. Even pita that doesn’t puff fully will still be delicious — it just won’t have a pocket.
Can I bake pita bread in the oven instead of a skillet? Yes. Preheat your oven to its highest temperature (typically 500°F/260°C) with a baking stone or an inverted baking sheet on the bottom rack. Bake the pita directly on the hot surface for 3 to 4 minutes. Oven-baked pita tends to puff more dramatically than skillet-cooked pita, though the skillet method gives a better char flavor.
Can I make the dough ahead of time? Absolutely. After kneading, place the dough ball in a lightly oiled bowl, cover with plastic wrap, and refrigerate overnight. The slow, cold rise develops exceptional flavor. Remove it from the refrigerator one hour before you plan to cook to allow it to come to room temperature.
We hope this homemade pita bread recipe brings something truly special to your table. There is a joy in making bread from scratch that is deeply satisfying — and with fresh pita, that satisfaction comes with a batch of six warm, pillowy rounds ready in about 90 minutes. For more Greek recipes and Mediterranean classics from Chef Niko, explore the full MyPrepTable collection. Kali orexi!